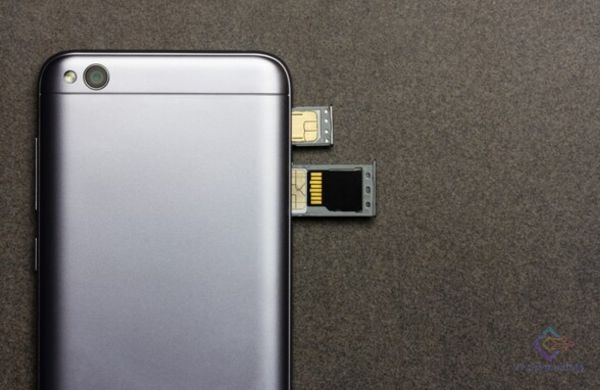
Is your Android phone constantly reminding you of the dreaded “insufficient storage” problem? You’re not alone in this struggle. This article will guide you through a nifty solution that doesn’t involve the complexities of rooting your device. You can effectively expand your smartphone’s capacity by utilizing your SD card as internal storage. So, let’s delve into a comprehensive step-by-step guide to unleash the magic of storage optimization.
Unveiling Developer Options
Our first task is to enable the developer options on your Android device. Here’s how you can do it:
-
Open the “Settings” application on your Android phone.
-
Proceed to the “About Phone” section.
-
Scroll down and gently tap on “Build Number” a total of seven times. After the fifth tap, you’ll be greeted by a message confirming the unlocking of developer options.
Also Read: How to Use file:///sdcard/ to View Files on Android Fast and Easy
Activating Developer Options
With the developer options now at your disposal, you can locate them within “Additional Settings.” Follow these instructions:
-
Navigate to “Settings.”
-
Keep scrolling until you find the “Developer Options” menu.
-
Access “Developer Options.”
-
Within this menu, look for the option labeled “Force allow apps on external storage” and promptly enable it.
Enabling this option essentially grants apps the authority to write data to external storage, including your SD card.
Customizing Download Location
To ensure that files are directly stored on your SD card, execute the following steps:
-
Launch the Chrome browser on your Android device.
-
Tap the three-dot symbol positioned at the upper right corner to reveal the settings.
-
Continue scrolling until you come across “Downloads.”
-
Within the “Download Location” segment, switch the setting from internal storage to the SD card.
With this alteration, any files you download via your browser will be automatically directed to your SD card.
Tailoring Camera Settings
If you have a penchant for photography, you can also channel your pictures and videos to the SD card through the camera app. Here’s how:
-
Open your camera application.
-
Navigate to the camera settings.
-
Search for an option that allows you to designate the SD card or external storage as the storage location for photos and videos.
Also Read: How to Turn off notifications for a second Instagram account
Verifying Storage
Once these changes have been implemented, it’s prudent to inspect your device’s storage settings. Here’s how to go about it:
-
Access your phone’s “Settings.”
-
Select “Storage.”
-
You’ll observe that your SD card has now been seamlessly integrated into your internal storage.
Congratulations! You’ve successfully harnessed the potential of your SD card, effectively expanding your Android device’s storage capacity. No longer will you be plagued by concerns about running out of space for your applications, photos, or other essential data.
By following these steps, you can optimize your Android phone’s storage without delving into the complexities of rooting. This method stands out as a user-friendly and efficient way to maximize your existing hardware. Embrace your newfound storage capacity and enjoy a seamlessly running Android device.

Leave a Reply